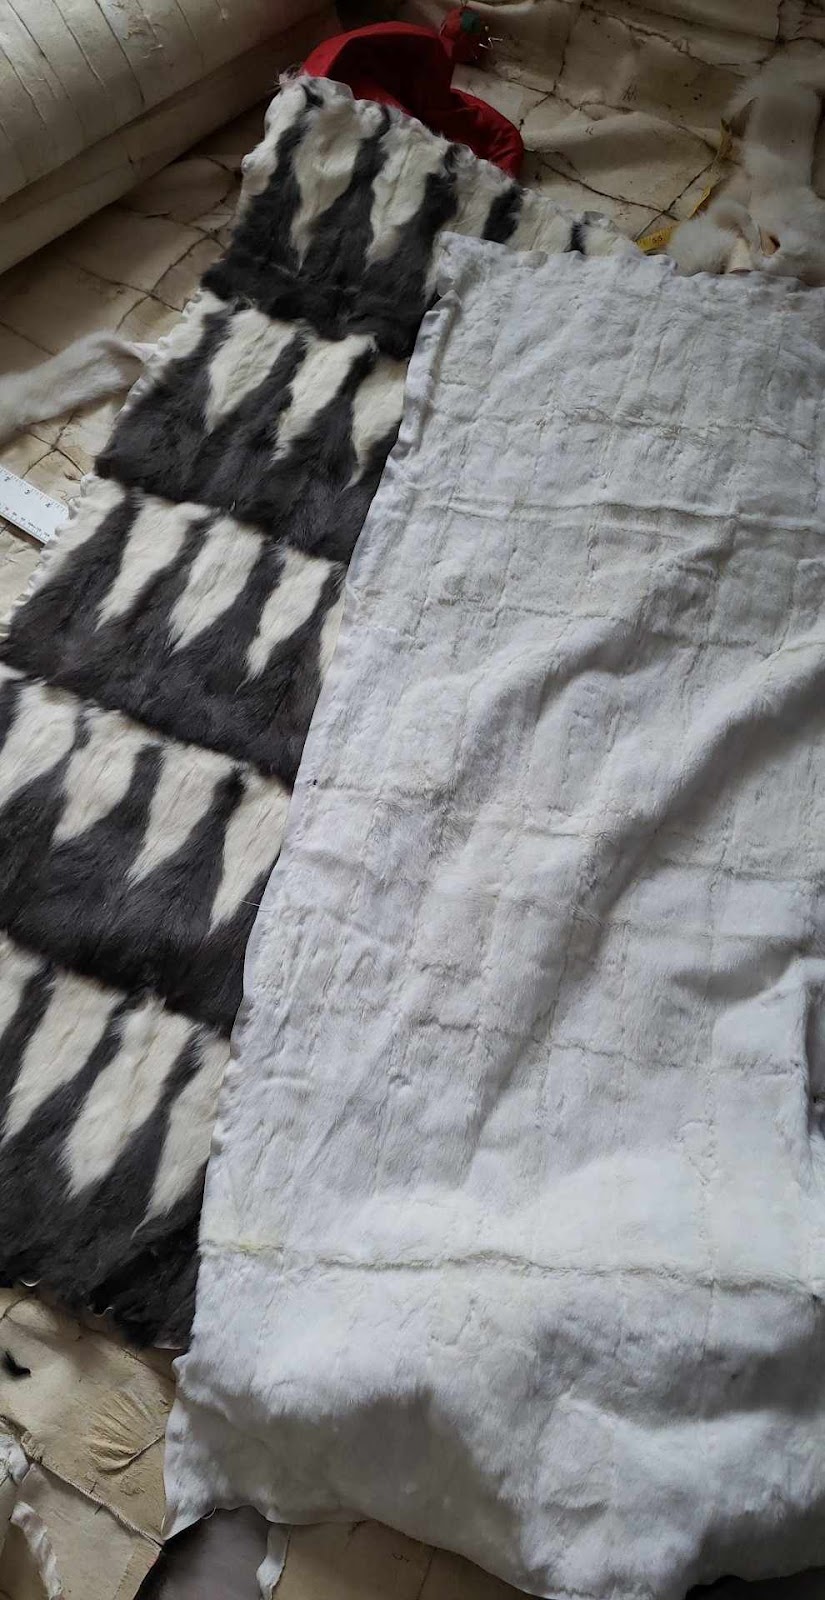
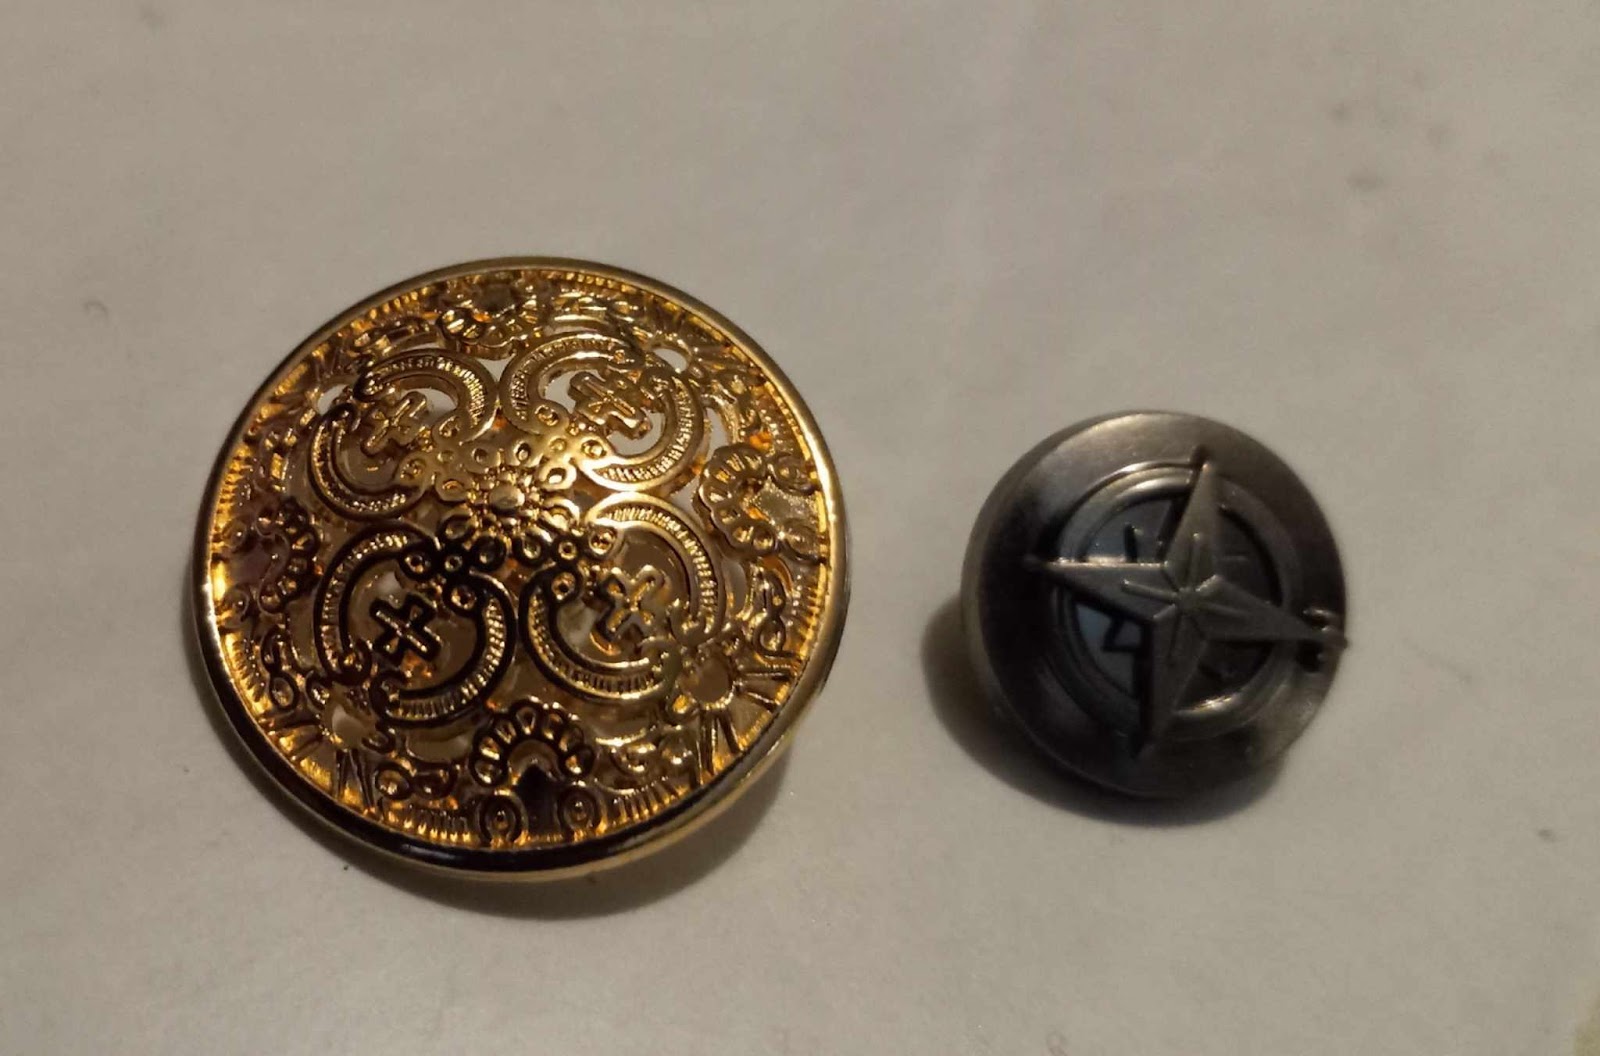
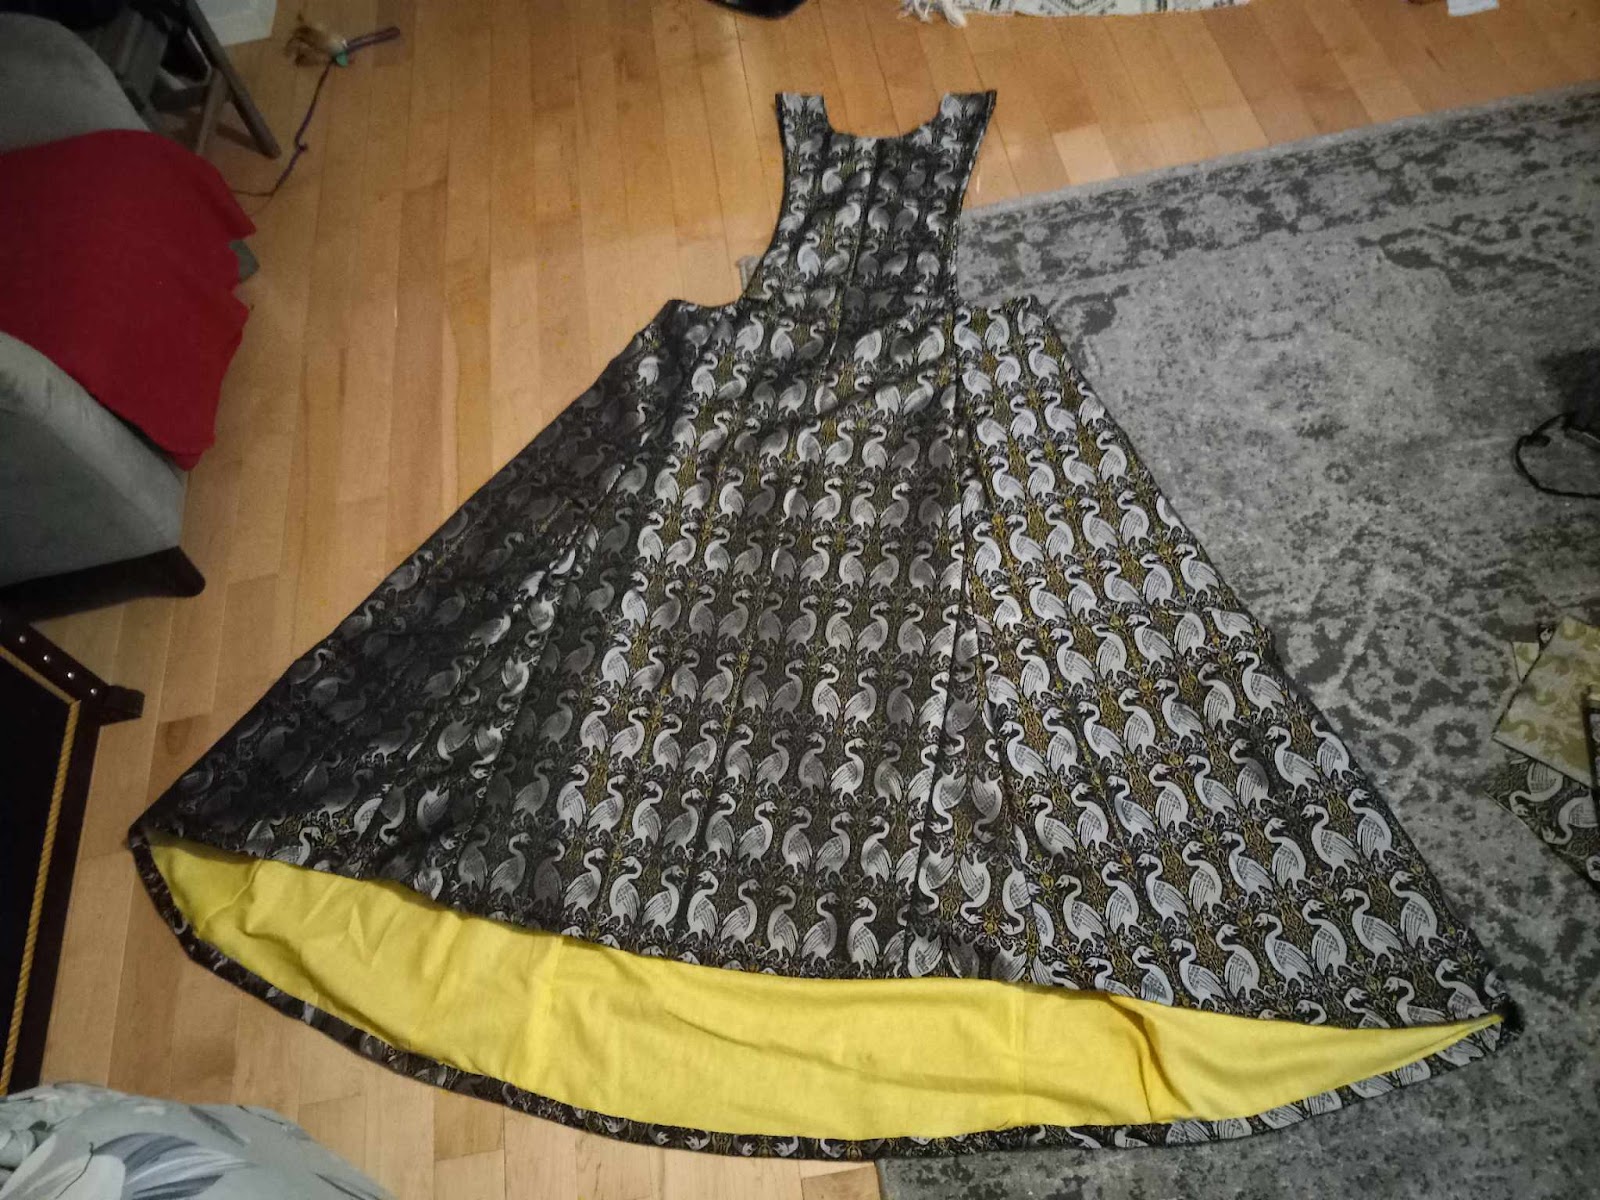
Some in progress photos.
Here is the link to the actual documentation for this project!
The Velvet houppelande ACT I
Patterning-
A lot of this was previously discussed in my updated pattern here. The extant houppelande had 19 trapezoid panels. 4 of which were pieced to make wider panels. I originally choose to have 20 panels the same width because I had enough fabric to not piece panels and wanted to avoid putting a front opening down the center of such narrow panels, based on my previous experiences of how awkward it is to finish. The width of the panels also being dictated by the width of period velvets and fur panels.
From my mock up it revealed that since I had lengthened the gown it didn't have the volume needed to achieve the right shape, giving an awkward tulip silhouette, and since I wanted to maintain working within the width of velvet in period, the solution was to add two more panels and gores to the back of the garment. For a total of 22 panels, plus 2 full length gores, and 8 short gores.

My back gore pattern from the mockup.
The center front and center back panels are wider at the top, as per the mockup. This is so that I can cut the curve of the collar without affecting the panels laying on the shoulder. When trapezoid panels are sewn together they create a curve, and when that curve is sewn into the shoulder seam, that drapes the opposite direction, it creates tension, and combined with a bias to straight edge is what causes the natural pleating effects that make houppelandes iconic. So it was important to not cut into that.
The curve on these shoulder seams became more pronounced as the velvet relaxed.
I ended up with this cutting layout. It has 10 trapezoid front panels, 12 trapezoid back panels, 2 full length gores, 16 trapezoid sleeve panels and (not shown) 8 shorter gores and the collar that was cut from an extra yard.
Cutting the Fabrics-
One of the most nerve racking things, cutting into expensive fabrics! That's 4 layers 8+m of fabric laid flat! 100% silk velvet, 12mm silk for lining, 2.8oz linen for interlining, 3.5oz linen for fur backing.
Luckily a partner had a large enough space and an extra set of hands to help me lay this all out.
I started off using bottles as weights and then used pins to align all 4 layers of fabric along one selvage.
Note that the bottles left round circles in the delicate silk velvet. They seemed to have steamed out, but still was not a best choice. Next time I'll try hockey pucks, since the curved edges are less likely to cause that issue. Glass fabric smoothers would have been a common item in a tailor's shop that might have worked as a period weight in this application.
The fabric was divided into 4 equal widths, each representing half the width of silk velvet in period. Each width was then spit on a diagonal, the short width on the front panels measuring 5cm, as was the dimension on the Prague Houppelande.
Because I added 2 panels in the back, I reduced the top of the back panels to 4 cm to maintain the shoulder length. Even still the shoulders seams stretch wider with the velvet than the mockup, so I ended up adding a few pleats and using a line of stay stitching to hold them in place.
I used 2 meter sticks taped together to get a long edge long enough to mark out the pattern with tailors chalk.
As I was cutting I made sure to pin a post-it note to each section with it's name and the nap direction. And then put them in individual freezer bags to protect them.
While pining my panels together I'm making sure to alternate the nap pattern, and to make sure I'm matching a bias edge to a straight edge. There are a few pen marks on the seam allowances to help keep that sorted out. Unfortunately I discover later that I messed this up with my covid brain fog.
The Velvet Shell-
The threads I am using are a 50# purple Silk thread and a 100# white silk thread. A 50# thread is stronger, and is being used on the structural seams on heavier velvet and any finishing details I want to blend into the garment. The lighter white silk thread is being used for the silk lining and seam allowances. I'm also using modern tools such as needles, bee's wax, thimbles, snips, pins.
I am sewing the 2.8oz linen interlining as a flat lining, since it's purpose is to add strength and structure to the silk velvet to closer resemble period velvets. It will also provide a backing for future embroidery.
The Golden Gown of Queen Margrete , and
here is an extant example of a garment with a linen lining. Medieval linens came in a wide variety of weights, from heavy canvas to almost translucent, lighter linens such as this one have been found on extant undergarments. I choose this linen because it's not a particularly finely woven linen, but provided the right amount of structure, and was lightweight, which is a big factor in such a garment.
To sew the velvet and interlining, I used a simple running back stitch with 5-6 stitches per inch which seems to be a common stitch length in extant garment. I then did a simple over cast stitch on the seam allowances. With all of these seams I made sure to start sewing at the top of the garment and work my way down, so that any uneven stretching would be at the hem.

Finished seam from the right side.
Aside- look at that color in natural light!!
Finished seam on the interior
After a month of devoting every free moment I had to hand sewing, I did resort to using the machine to replace the running stitches on the back half of the gown, and rework, however continued to hand finish all other elements.
Hand sewn front half hanging out.
Because the velvet can be easily crushed I'm trying to roll it up as much as possible as I'm working with it. As I got more of it put together I began to pin the panels to my mannequin so they could hang and to not be folded or rolled.
In progress picture of the center back panels.
Before I ripped out the center back due to my labeling mess-up.
Also starting to sew this project while I was still in recovery from a nasty bout of long covid and still suffering from major brain fog wasn't the best idea. AFTER I had hand sewn the entire front of the houppelande, I realized that I didn't mirror the pieces when I started, and thus had 2 of the same front half instead of mirrored. Luckily, I had enough length, and the nap of the fabric is almost indistinguishable, so I could make do with only ripping out one center front panel and moving it to the other side, and adjusting the hem a bit shorter along the sides to make it work, instead of having to re-sew 2 weeks of hand work.
I also made the mistake of labeling and cutting my back panels wrong. Which I did discover quicker, but had a few panels already sewn. So I ended up ripping out a total of 6 panels, the wider center back panels ended up being used elsewhere, combined with the stretch of the fabrics I ended up putting in several pleats at the shoulder anyways, and my hem needed adjustments, a couple panels pieced at the hem.
I'm kind of irritated at myself, all my carefully planned tailoring of the panels at the shoulders and hem was thrown off. Plus my near zero waste cutting pattern now generated more waste and some piecing when I had plenty of fabric to make it unnecessary. I know that I can do better. But c'est la vie, and I made it work.
Here the uneven nature of the hem is quite obvious.
But look at the drape and the way it catches the light!
(And NO that's not the belt that goes with this outfit, lol)
I also needed a last minute purchase of more thread because I didn't plan for this much rework, nor the amount of thread needed for pad stitching and the dress guard.
Interesting Tidbit from my research- The Parisienne Guilds statues of the time stated that fiber arts must be done during day light hours. Work done after dark was considered inferior and could result in fines. (The Silk Industries of Medieval Paris, Sharon Farmer)
Technically most of my sewing would be illegal. Thank goodness for modern lighting!
Two useful things I've found when hand sewing is to keep a fuzzy blanket on my lap, that way a needle won't get caught up in any other fabric, and the fabric doesn't slide around. Most fabrics need a bit of tension while hand sewing, and silk velvet such as this can very easily be distorted and pucker if the right tension isn't maintained. I try to tuck one end under my body, between my knees, or pinned to my pants, as I sew, so I can pull gently with one hand, and allows me to keep tension and allowing me to pull my thread tightly without any fabric bunching. Once sewn to the interlining, the velvet hold the shape of the linen. An after observation was that a silk organza might have been a better option for structure since it tends to hold it's shape better.
An example of using tension and a fuzzy fabric to aid hand sewing.
I need to talk about pressing seams... because period seam smoothers were round glass objects that used their weight to press seams, or flat irons could be heated in the fire and used in a similar fashion as modern irons (
Did Shakespeare use an Iron). But they would completely crush silk velvet. The needle boards traditionally used to iron velvet were first used in 1870, and the modern hack of fluffy towels doesn't translate into a period methods because towels were simple woven linens in period. While a shorn lamb fur could be a common item in a medieval household that might work for pressing velvet seams, I have no evidence. So I simply dampened my fingers and use them to gently press the seam and tacked down the seam allowances as I went to keep them neat. It also has the bonus of a second line of stitches to strengthen the seam, to both add strength to the seam, and to prevent any fraying. Even still I wasn't happy with how the seams fell, and so I did resort to using a modern iron with a fuzzy towel to press the seams.
Once allowed to hang, I then added pad stitching down the center of each panel and gore. The pad stitching adds structure to help keep the fabrics from stretching further, and helps maintain the natural curves in areas such as the collar. Pad stitching was often used in gambesons of the time period. I choose a simple running pad stitch on the body of the garment since it doesn't need to shape the garment.
An interior pic showing the finished seams, curved shoulder and the simple pad stitching.
The Collar-
As I worked through the garment it was obvious that the collar was going to need a bit more structure. So I chose a felted wool that had enough structure, cut a bit smaller than my pattern was, and pad stitched that to the velvet. Which was then covered by the linen interlining, this it had switched to the front top of the velvet with a running back stitch along the top curve of the wool, then flipped it around and pressed to have a crisp edge for the silk lining to attach to later.
I then carefully back stitched the collar to the neck opening and felled the seam allowances with another line of back stitches. I used back stitches in this area because it is a stronger stitch and this area will have a lot of pull on it from the weight of the garment, and possibly people stepping on the hem. Again, I may add twill tape in this area to take the pressure off the seam.
An in progress photo of the initial shaping of the hem. The centre front is purposely a bit higher to make it easier to walk in. When finished it should just brush the ground.
The Lining-
For the 12mm silk lining, I'm bag lining it, so I can unpick it as needed for future embroidery. I sewed most of the lining in tandem with the shell so that I could make sure I was making the same adjustments, (and mistakes!) to the lining.
I used the same running back stitch, but because it is a finer material the stitches are finer, closer to 8-10 stitches per inch. The allowances are treated with a simple overcast stitch that rolls the cut edge under. It's not as finely rolled treatment as I would do for a veil, This is simply because I was worried that the seam allowances would fray apart, and seam allowances would lay nicer. None of it will be seen once it is sewn in. Afterwards I have pressed the seams with a modern electric iron. Like the outer shell, I did resort to using the machine to replace the running stitching on the back half of the lining, continuing my pattern of hand finishing the seam allowances and any visible stitching.
Attaching the Lining-
After the shell has been completed, hung out, ironed, and then pad stitched, it will be ready tack in the satin bag lining. For this I'll fold 1/2" of the raw edges of both to the interior, using a whip stitch at the edge, iron the edge, and then use a running stitch 1/4" away to keep the edges crisp and to prevent any stretching. I will also have tacking stitches at intervals along the seam lines. Keeping the stitches on the exterior will ensure I'll be able to remove the lining for cleaning or future embroidery without damage to the fabrics.
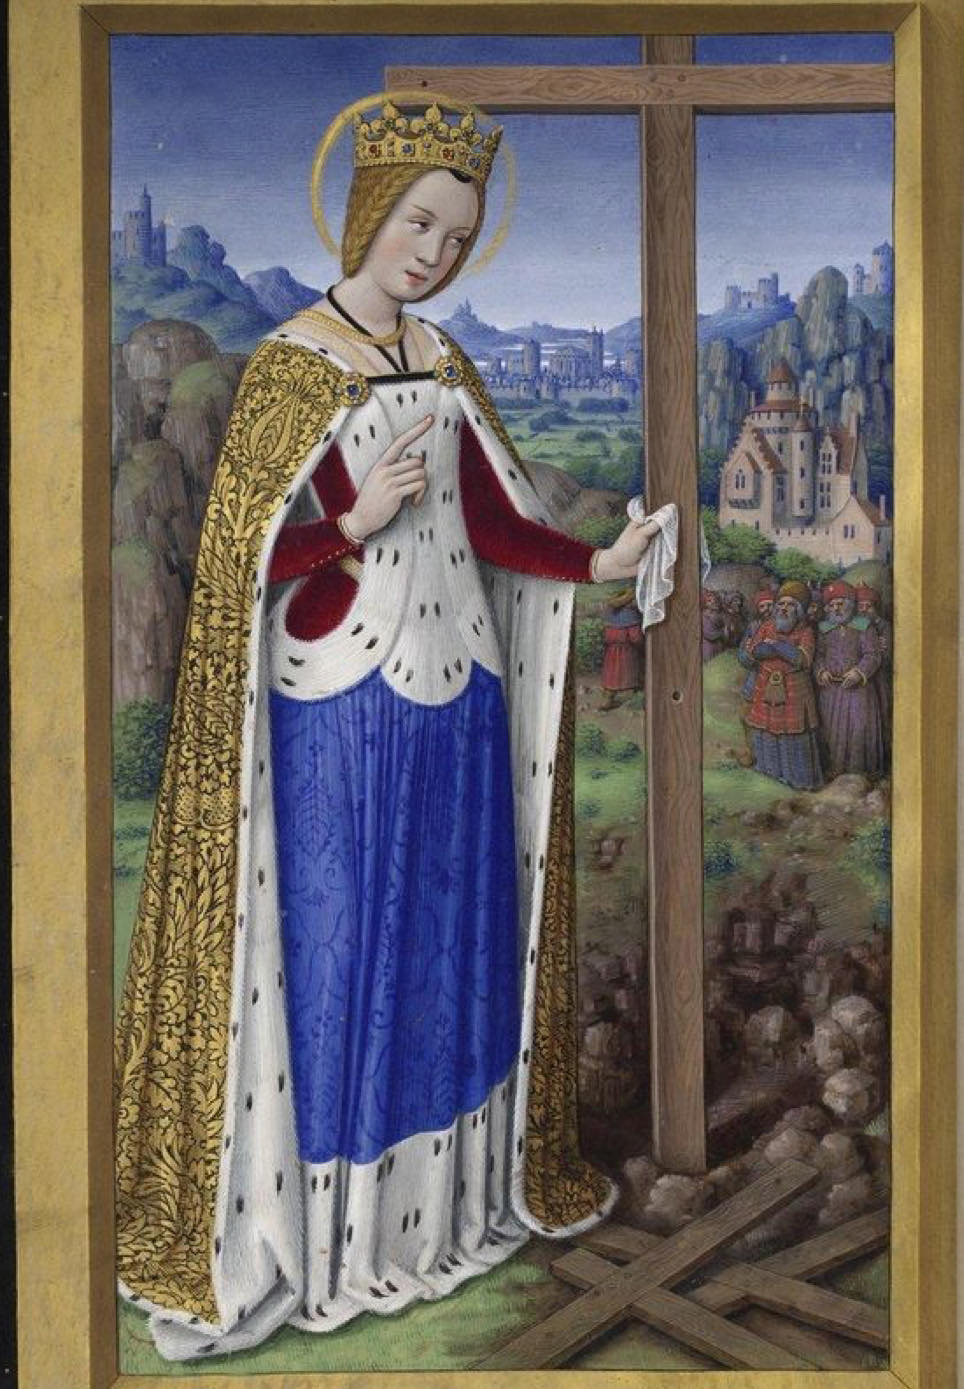
You can see that the collar looks like the manuscripts from the first decade of the 15th century when standing up, and like the second decade when folded down.
Also once the machine sewn seams were hand felled and steamed with the iron they were indistinguishable from the hand sewn seams.
This makes me quite pleased.
Dress Guard-
This gown is an expensive labor of love, and to protect the hem I'm adding a dress guard at the hem. It is usually a durable fabric used to protect expensive fabric hems from dirt and snags. They are extremely popular in later periods, While it is hard to find visual evidence of a dress guard in use on houppelandes, especially the interior of a silk lined one, most images show a fur trimming instead, which would also protect the gown from damage.
Roman de la Rose (1400-1402
In period you often see manuscripts showing a hem of a different color, this could be a fancy decorative element, a guard or a repair. An example of this is on the fitted cotte in the French manuscript Roman de la Rose above, from slightly before this time period, and in the images below, although later, from the French Manuscript,
La Fleur des Histoires, MANSEL, Jean (1400-1473), Also shows a guard of a different color used on the hem.
An example of a non fur guard on a fashion garment.
However, we do need to keep in mind that Manuscripts were created to show the noble ideal, and not exactly reality. The English Queen Isabella (1320) was known to replace hems to preserve the longevity of gowns, and there are a handful of extant textiles from the fourteenth century that show silk reinforcement was used in edges, openings, and button holes, (
https://rosaliegilbert.com/sewingtechniques.html) and given the amount of narrow silks found in the inventories and guild records of Paris during this time (The Silk Industries of Medieval Paris), the use of silk reinforcement appears to have been common practice. Also, if one is going to spend a fortune on one gown, it would seem like a common sense practice to protect the hem of the gown from dirt and stone surfaces. While a houppelande is a item of copious consumption, it is not a period of fast fashion, and a gown would need to last.
Despite the tenuous evidence, I'm adding a lightweight faux silk dupioni to the inside bottom of the gown wherever it touches the ground and a few inches up. Previous experience has shown that hems on the ground quickly degrade, even when wearing it indoors. I chose this fabric because it is lightweight, so won't affect the drape, and is tightly woven, so less likely to snag. It's also less expensive and time heavy than having to replace or redo the bottom of the silk lining. In the future, when I will need to replace the guard, I will replace with real silk, but this development came at a time when my budget didn't allow for more real silk, and frankly I know this part of the gown will be quickly ruined, that is it's entire purpose. In period the slubs in the dupioni would have made it an inferior and cheap silk, and therefore more appropriate for hidden support.
The d
upioni was cut on the striate grain, and I used a running back stitch to make one long strip. The cut edges tucked and pressed under and then I whip stitched one edge to the front edge of the finished hem, wrapped around to the interior, and simply tucked and folded to match the circumference of the gown, this technique being called a nun's tuck in later periods, and then also whip stitched at the upper edge.
Picture to Come!
Now If there was a period solution to preventing OTHER people from stepping on my dress! I actually thought about putting reflective tape on the hem in hopes that it would warn others, lol! But hopefully the reflective nature of the velvet itself Will have to suffice!
This same dupioni will be used to reinforce the front opening for future buttons and around the collar to protect the gown from body oils and sweat.
The linen backing for the fur is being set aside for the moment so I can use it to cut out the fur panels later.
Which finally is in my possession!


